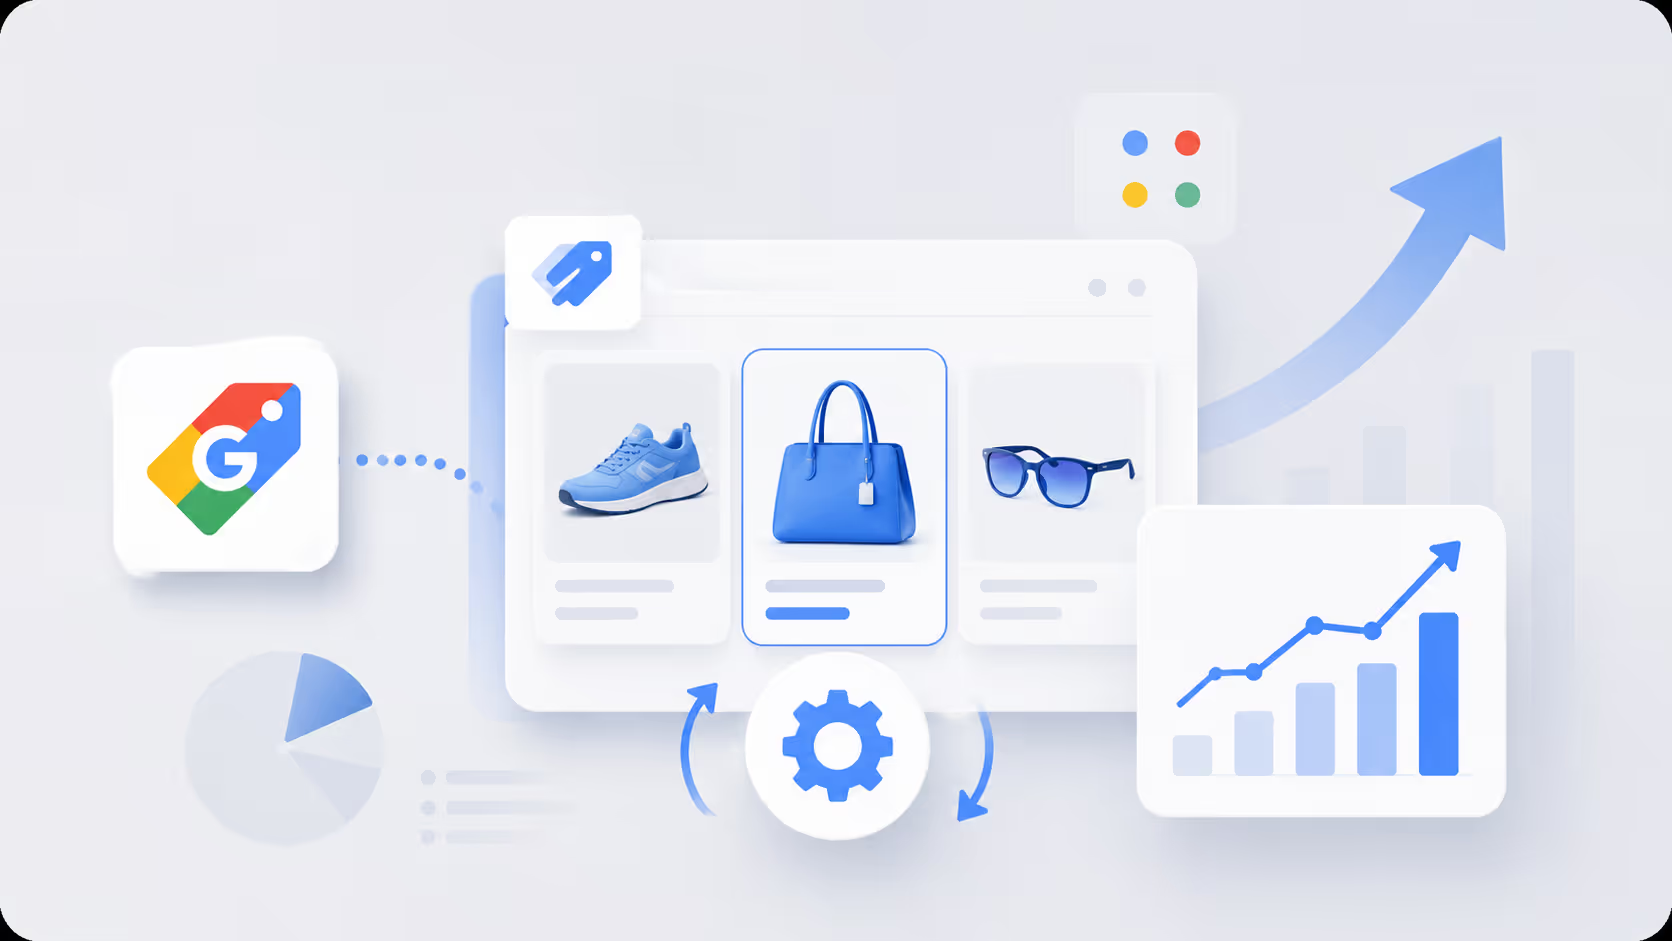
6 steps to activate free listings in Merchant Center

Learn how to activate free listings in Google Merchant Center in six steps, then boost your organic carousels on the Google search results page.
Free listings are organic product results that appear on Google surfaces such as the Shopping tab, Images, and YouTube without a per-click charge. Many sellers still believe Google Shopping is a pay-to-play channel, but Google has included free product listings since April 2020. This guide explains how to activate them in six steps. Once you are live, our guide to 5 hacks to improve your organic shopping carousels shows how to earn more clicks from them.

Quick summary of the process
Create your Merchant Center account and claim your site.
Set up shipping, handling time, tax, and returns.
Build a high-quality product feed.
Opt in to free listings across Google.
Follow Google policies and fix disapprovals.
Track performance and keep improving.
What are free listings in Google Merchant Center?
A free listing is an organic result Google can display when your products are submitted through Merchant Center. According to Search Engine Land's FAQ on Google Shopping's free and paid listings, Google Shopping had been advertising-based for roughly eight years before free results arrived. Google's own free listings help page says products may show on Search, Images, Lens, YouTube, Gemini, and the Shopping tab.
Do not confuse these results with Shopping ads. Shopping ads are paid placements managed in Google Ads, usually through Performance Max or a standard campaign. Both channels draw on the same feed, so every improvement helps your paid and organic visibility at the same time.
Free listings vs. Shopping ads at a glance
| Feature | Free listings | Shopping ads |
|---|---|---|
| Cost | No per-click charge | Pay per click through Google Ads |
| Setup | Merchant Center account and product feed | Merchant Center, Google Ads account, and a campaign |
| Placement | Organic results on the Shopping tab, Images, and YouTube | Paid placements above and beside organic results |
| Control | Google decides when products appear | Bids and budgets decide how often products appear |
Pros and cons of free listings
Pro: there is no per-click charge, so organic clicks cost nothing.
Pro: the same feed powers free listings and Shopping ads.
Con: Google states that your products aren't guaranteed to show across Google.
Con: you cannot buy a better position, so quality data is your only lever.
Step 1: Create your Merchant Center account and claim your site
Everything starts with an account in Merchant Center. Create one as a new user with admin rights, using a Google login your business controls, then enter your business name, country, and time zone. Accept the terms of service, which apply to every title and image you submit. Use a shared company email as the owner, since losing access when an employee leaves is a common problem. Our guide to the Google Merchant Center account setup and key settings covers the options in more detail.
Next, verify and claim your website. This proves you own the site and is required before any product can be displayed.
Step 2: Set up shipping, handling time, tax, and returns
Shipping information is required for free listings in many countries, and Google lists them on its page explaining why you need to add shipping information. In Merchant Center, open the shipping settings and create a shipping service for each delivery option you offer. Every service needs a name, a country, a currency, a delivery time, and a rate. A rate can be a flat charge, free shipping, or a table based on order total, weight, or number of products.
Enter your handling time (the days you need to pack an order and hand it to the carrier) and the transit time (how long the carrier takes). Google combines both to estimate a delivery date. If you work with several carriers, set a separate service for each, such as standard or express, and add a cut-off time so late orders still show a realistic date.
You can also set the shipping cost for each product with the shipping attribute in your feed, which overrides the account settings. Google compares your feed with your checkout, and any mismatch in price, shipping, or fees can cause a policy issue. If your checkout adds a processing fee, make sure the total on your site matches the price in your feed. In the United States, also review your tax settings, since shoppers expect to see the total price before they pay.
Finally, add a return policy. Explain how many days customers have to send a product back, whether a restocking fee applies, who pays return shipping, and which categories are excluded. Set it up in Merchant Center and keep it consistent with the policy on your site.
Step 3: Build a high-quality product feed
A feed is the file, sheet, or API connection that sends product information to Google. Without one, you cannot appear in organic Shopping results. As Search Engine Land explains, schema markup alone does not get products into the Shopping tab, although it can help in Google Images and other features.
At minimum, each product needs an ID, title, link, image link, price, description, and availability. Depending on your category, you will also provide condition, brand, a GTIN or MPN, shipping, and apparel details such as color, size, and gender. Optional attributes add value too, so fill them in when you have the data. Enter each value exactly as it appears on the page and avoid placeholders such as N/A. Google also recommends a product type that is at least two to three levels deep.
You can submit the feed through a Google Sheet, a scheduled fetch, a manual upload, the Merchant API, or an integration with your platform. A scheduled fetch suits stable catalogs, while the Merchant API suits stock that changes by the hour.
Why product information quality matters
Google connects your products to queries using the information you provide. Vague titles, thin descriptions, and a missing category reduce your chances of being shown. Treat the feed as a search asset, not a chore. Start with our guides on Google Shopping feed optimization and how to enrich product titles. To fix weak attributes without touching your main feed, a supplemental feed is the usual route, and that is exactly what Clarmix feed enrichment automates: it audits your titles, descriptions, and categories and pushes improvements back to Merchant Center.
Step 4: Opt in to free listings across Google
New Merchant Center accounts are opted in to free listings by default, but you should confirm the status. In Merchant Center, go to Marketing, then Marketing methods, and open the Free listings card. If it is off, turn it on; changing it requires admin access. Older documentation calls the option Surfaces across Google, so you may still see that label.
Do not upload duplicate feeds for Shopping ads and free listings, because Search Engine Land notes that duplicates can disable your ads. Use one feed with both destinations selected.
Step 5: Follow Google policies and fix disapprovals
Opting in does not mean approval. Google reviews every product against its Shopping ads policies and the policies for showing products for free. Only product pages are eligible, so home pages, category pages, and shipping or return policy pages do not count. Your landing page must show the same price and availability as your feed and load without errors.
Before every upload, run the same routine: the price is identical, the stock status is current, the image is clear, the return policy is visible, and the checkout is secure. Different countries apply different rules, so a product approved in one market may be rejected in another, and some categories, such as alcohol or health products, need extra approval in some countries. Review the Diagnostics report every week, because a disapproved product cannot appear anywhere.
Step 6: Track performance and keep improving
Once products are approved, measure the results. Merchant Center's Performance report shows clicks from free surfaces. In Google Analytics, free clicks are grouped under google / organic, so add UTM tags to the landing page links in your feed if you want to separate them from regular organic traffic.
From there, improving a little every week matters more than any single change. Our guide to improving your organic shopping carousels covers titles, images, identifiers, reviews, and fresh prices in detail. If you also want your products to show up in AI-driven results, read how your Merchant Center feed decides AI shopping visibility.
Good practices before you go live
A little advance planning saves weeks of rework. Review the Merchant Center terms and the Agreement your account accepted, and ensure every person on your team understands the policies for free product listings. Save the setup choices in a shared document, so anyone who joins later can see what was configured and why.
Look at your catalog the way a customer would. Check that the images are great, the titles read well, and every similar variant has its own clear details. Add additional images and optional attributes where you can, such as local availability or a sale price, since the actual product data allows Google to match your items to more searches and to the right type of customer. Enter the identifier for each item exactly, and use the correct number and currency for every price. If a product is pre-order or backorder, set the condition and availability to match the page.
Plan how you will measure the experience as well. Eligibility rules differ by country, so confirm your products meet each market's requirements before you advertise or promote them. Sellers who track results every week can lead the market over time, and a good habit is to note each change in a log so you can recommend what to repeat. People who share the same account should agree on who updates the feed, and who reviews warnings, so nothing is left in limbo.
Frequently asked questions
Is Google Merchant Center free to use?
Yes. Creating an account and submitting products costs nothing. You only pay if you choose to run paid campaigns through Google Ads.
What does "free listing" mean?
A free listing is an organic result shown on a Google surface such as the Shopping tab, Images, or YouTube without a per-click charge. The information comes from your feed and your site.
How long until my products appear?
Review is not instant, and Google does not publish a fixed time. Even after approval, display is not guaranteed, and new stores may need time to build visibility.
Final thoughts
Activating free listings is a short project that can bring steady, no-cost traffic for years. Create and claim your account, set up shipping and returns, build a strong feed, opt in, follow policy, and track performance. To automate feed enrichment and keep your data ready for Shopping and AI-driven search, try Clarmix feed enrichment.
Sources
Join our monthly tips!
Get fresh insights on Google Shopping optimization delivered straight to your inbox.